The M Check
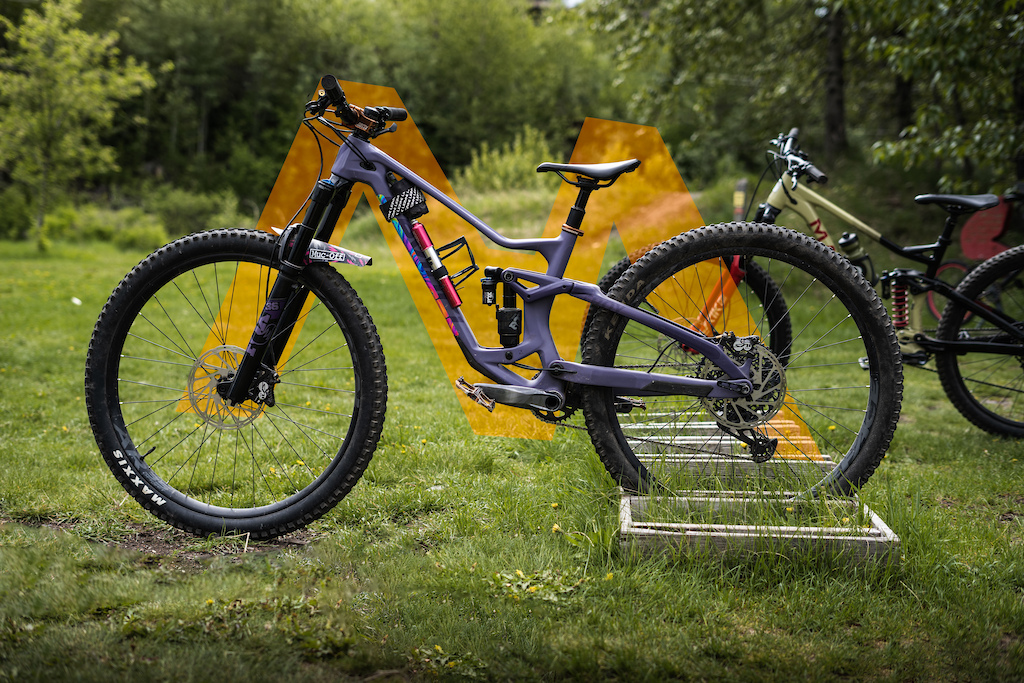
Don’t be that rider who shows up at the trailhead to faff with flat tires, loose spokes, and a dry chain (yeah, I’m looking at you!). A well maintained bike will save you money in the long run, reducing wear, and catching issues before they become catastrophic. While it may feel daunting to remember all the things you need to check, it becomes second nature in no time.
We LOVE the simplicity and thoroughness of the “M-Check”. Try it our before your next ride.
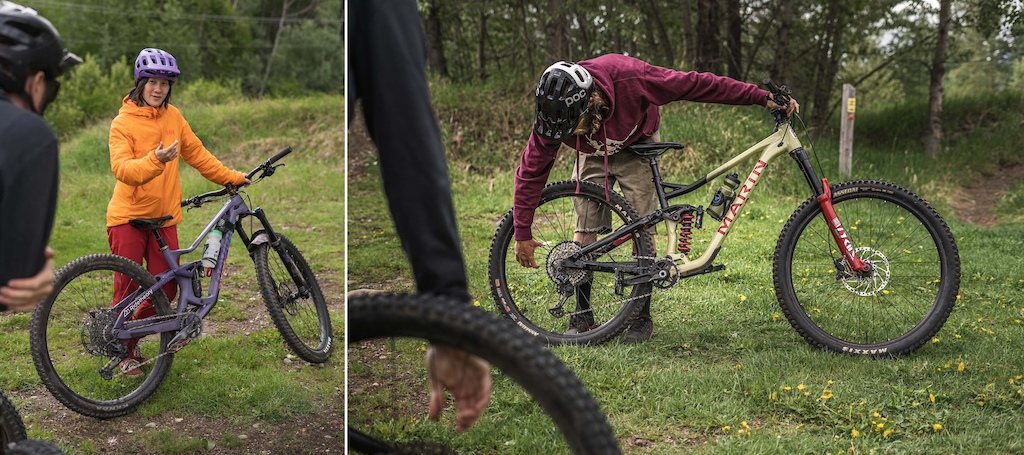
You can start at either end of your bike and work your way through by tracing a capital “M” across the frame. Following the same routine every time makes it much easier to spot anything that’s loose, worn, or out of place before it becomes a bigger problem.
As you move through each section, give components a gentle squeeze or wiggle, checking for loose bolts, worn bearings, unusual play, or anything that doesn’t feel quite right.
Starting at the bottom of the “M”, inspect:
- Derailleur
- Chain
- Brake pads
- Spokes
- Axle
- Tire pressure
- Tire condition and tread life
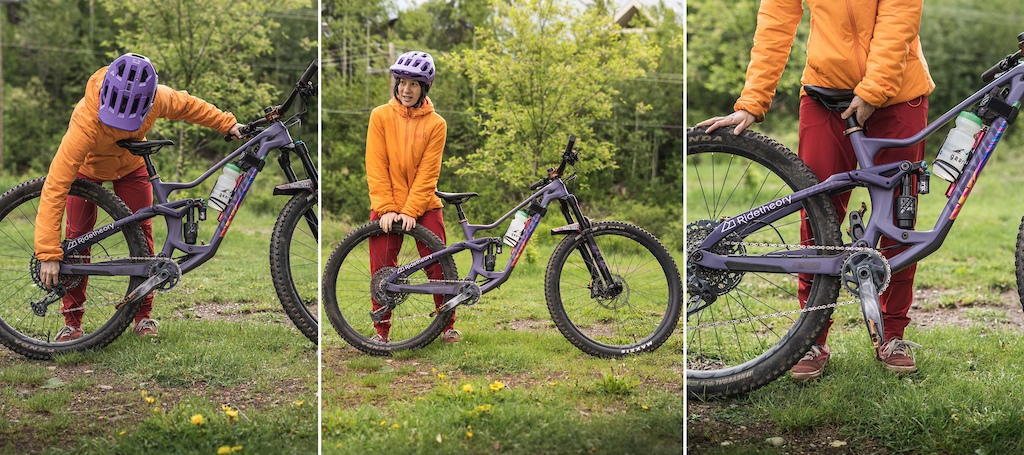
After giving your tires a quick squeeze (they should feel more like oranges than apples), move your hands up the “M” to the frame near the seat tube. Gently lift the bike and feel for any play in the bearings.
If you notice a clicking, knocking, or any movement that shouldn’t be there, it’s a good sign that something may be loose or worn and deserves a closer look before your next ride.
Next, move from the saddle toward the bottom bracket, give the bike another quick once-over. Check that all visible bolts are snug and look for:
-
Oil leaking from your shock
-
Missing or damaged pedal pins
-
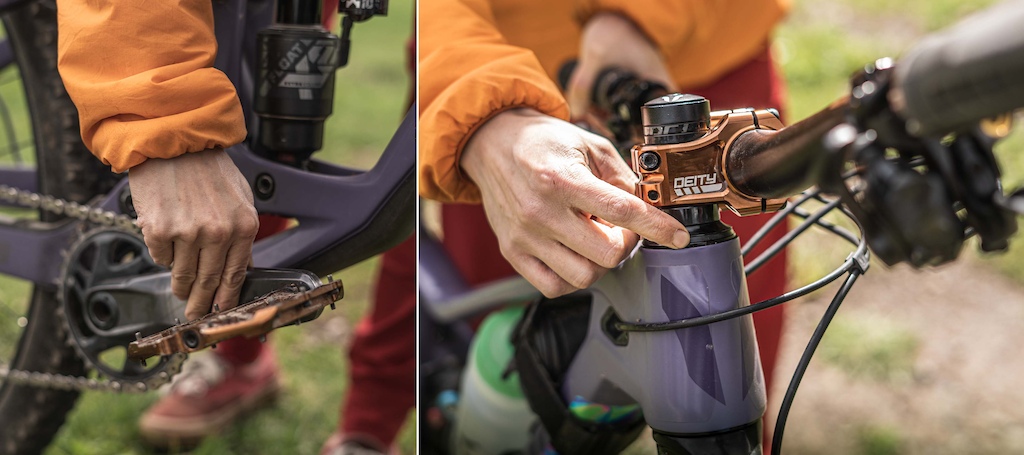
Any side-to-side play in your cranks, bottom bracket, or pedals
Next, move into the cockpit. Turn the handlebars from side to side and check your headset for any knocking, clicking, or unwanted movement. While you’re there, make sure your grips, brake levers, shifter, and dropper remote all feel secure and are positioned where you want them. Take a quick look at your stem to ensure everything is centred and tightened evenly.
Finally, roll the bike forward and test each brake independently to make sure they’re engaging properly.
A quick word of caution: If your bike has carbon handlebars, always tighten components to the manufacturer’s recommended torque specification. It doesn’t take much to over-tighten carbon, and using a torque wrench is the best way to avoid expensive damage.
Finish the M-Check at the front of the bike. Inspect your fork seals for any signs of oil buildup, then grab the front wheel and give it the same attention you gave the rear. Check your tire pressure, make sure the axle is secure, give the spokes a quick squeeze, and have a look at your brake pads for wear.
The whole M-Check takes as little as a minute, but it can save you from discovering a problem halfway through your ride. It’s a simple habit that helps you catch loose bolts, worn components, or developing issues before they leave you stranded on the trail.
Keep in mind that an M-Check isn’t a replacement for regular bike maintenance or a professional service. If something feels loose, isn’t moving as it should, or is moving more than it should, it’s worth having it inspected by a qualified mechanic before your next ride.